In recent years the sales of dairy-free milk alternatives, such as almond milk and oat milk, have seen a steady rise. Many people consider these “milks” to be a better fit to their diets and nutritional needs, but one downfall of the mass produced “milks” is the additives. It is very common to find store bought milk alternatives with added flavoring, which usually means more sugar and preservatives to help prolong the shelf life. However, with more and more people opting for a more natural diet, making dairy-free milk at home has become increasingly popular.
When I first made the switch to oat milk a few years ago I didn’t give much thought as to what was actually in it or how it was made. It wasn’t until I saw a video on how to make your own plant-based milk at home that I decided to try it out myself. I was actually quite surprised to find out that making my own “milk” was much simpler than I had expected and it tasted pretty good as well. I also realized I already had almost all of the ingredients on hand and I’m sure most others will find the required ingredients to be pantry staples which is why I chose to share the following recipes:
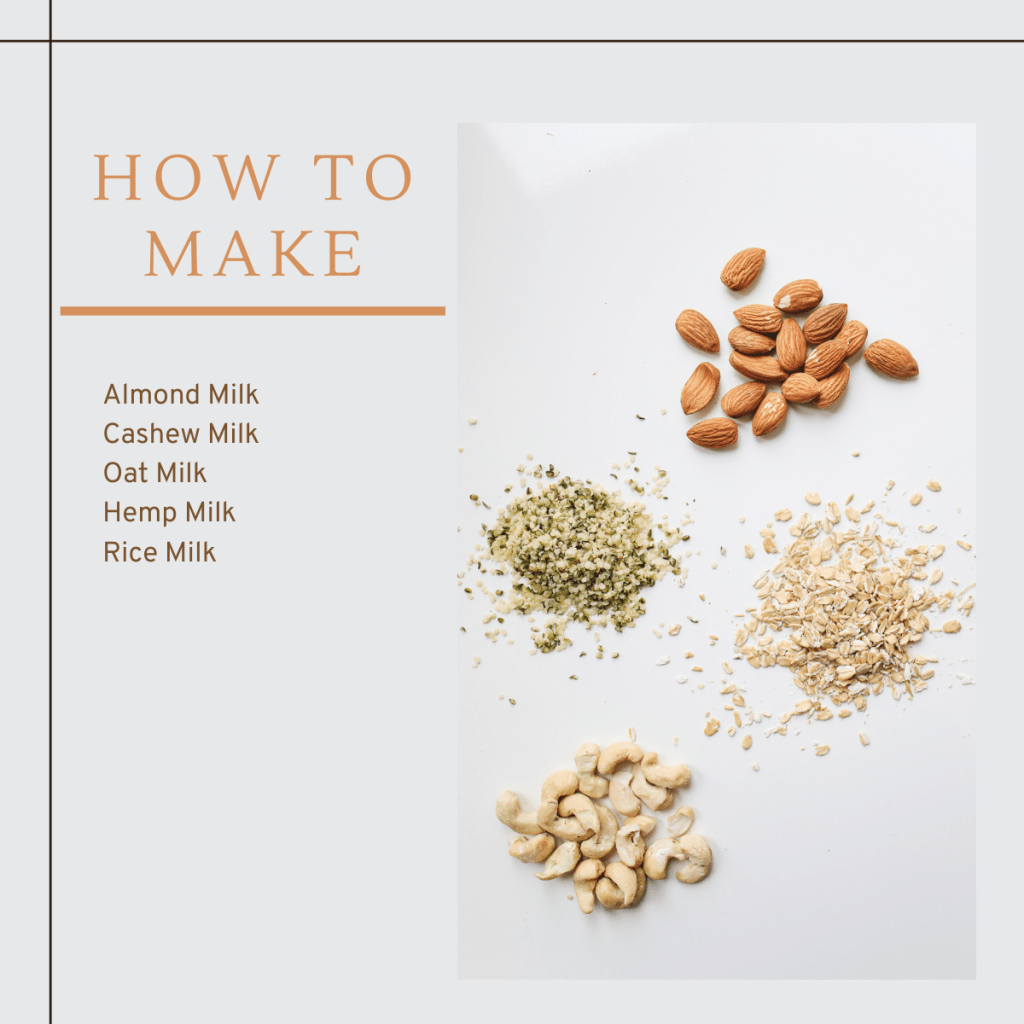
Almond or Cashew Milk
- 1 Cup Raw Nuts
- 4 + 1 Cups Cold Filtered Water
- 1/2 tsp Vanilla Extract
- 1/2 tsp Maple Syrup or Honey
- Pinch of Salt
In a bowl or jar, add the raw nuts and 1 cup of water, allow to soak overnight so the nuts will become soft. Strain the water and rinse, then add the nuts and 4 cups of cold water to a blender and blend on high for 2 minutes. Lay a nut-milk bag or thin towel over a bowl and pour in the mixture to strain. After all of the nut bits have been strained you can add in vanilla extract, salt and maple syrup or honey to add a touch of flavor and sweetness to your milk. After mixing, pour the liquid into an airtight container and store in the refrigerator for up to 3 days.


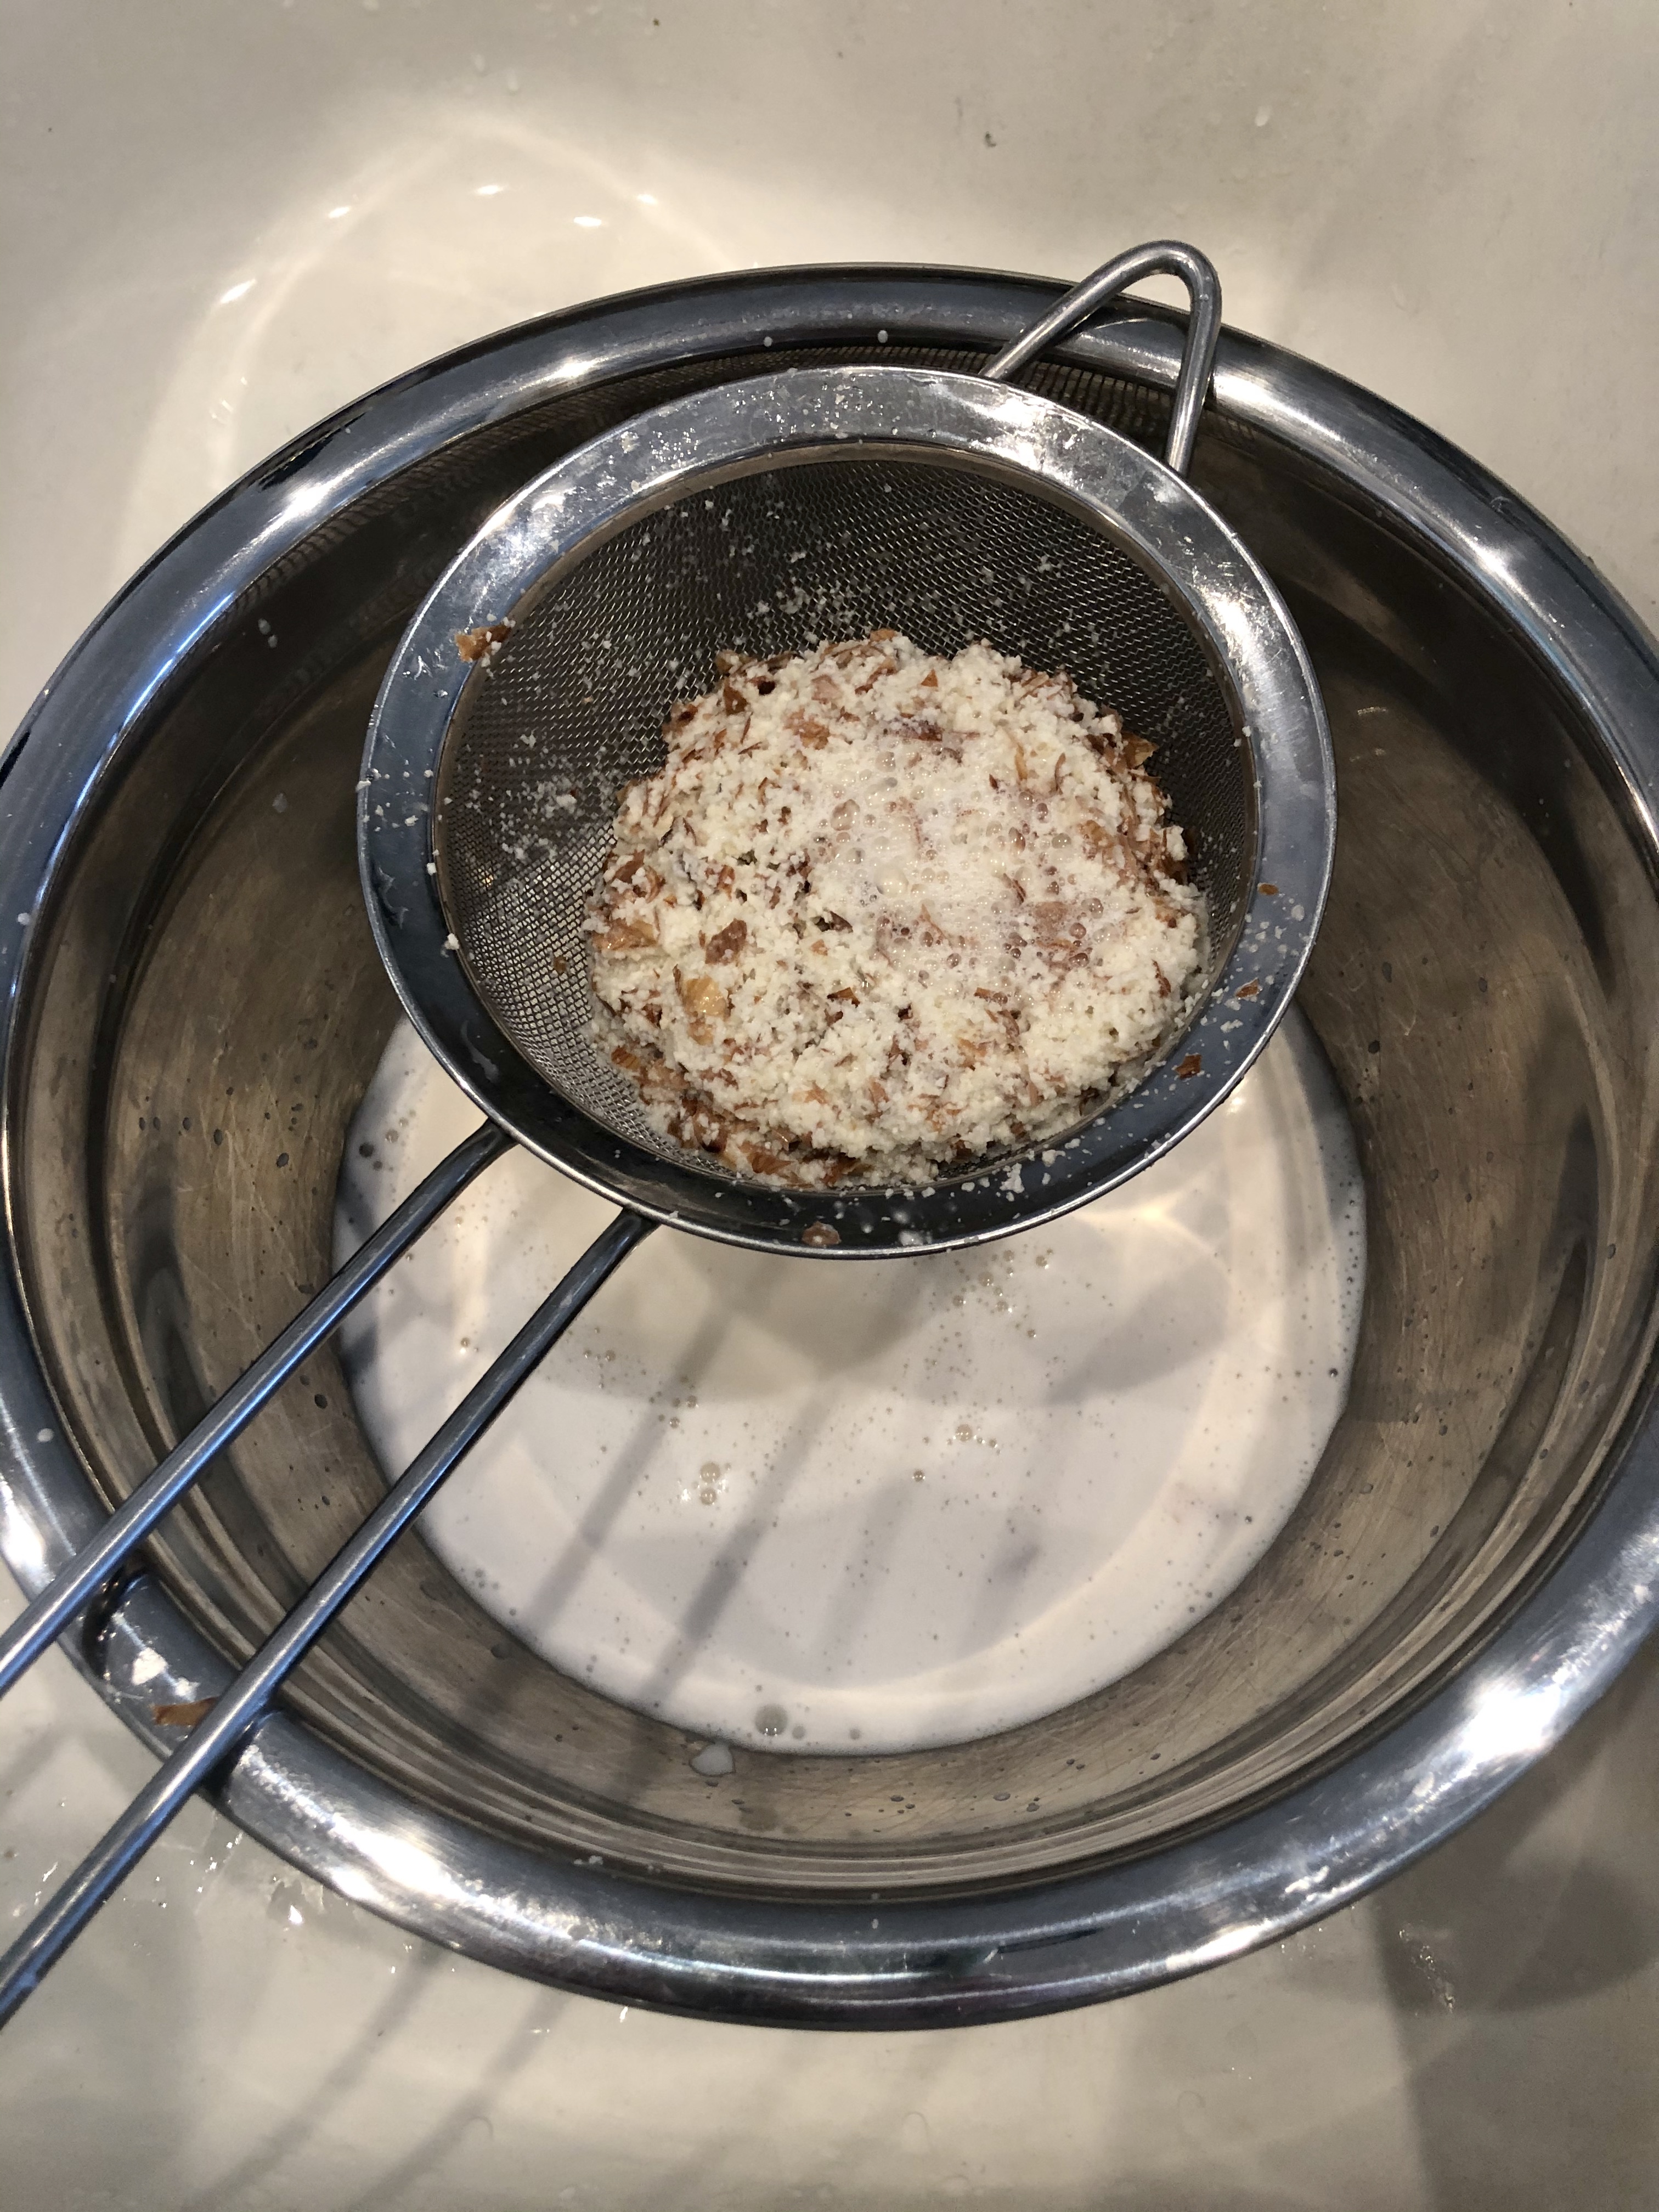
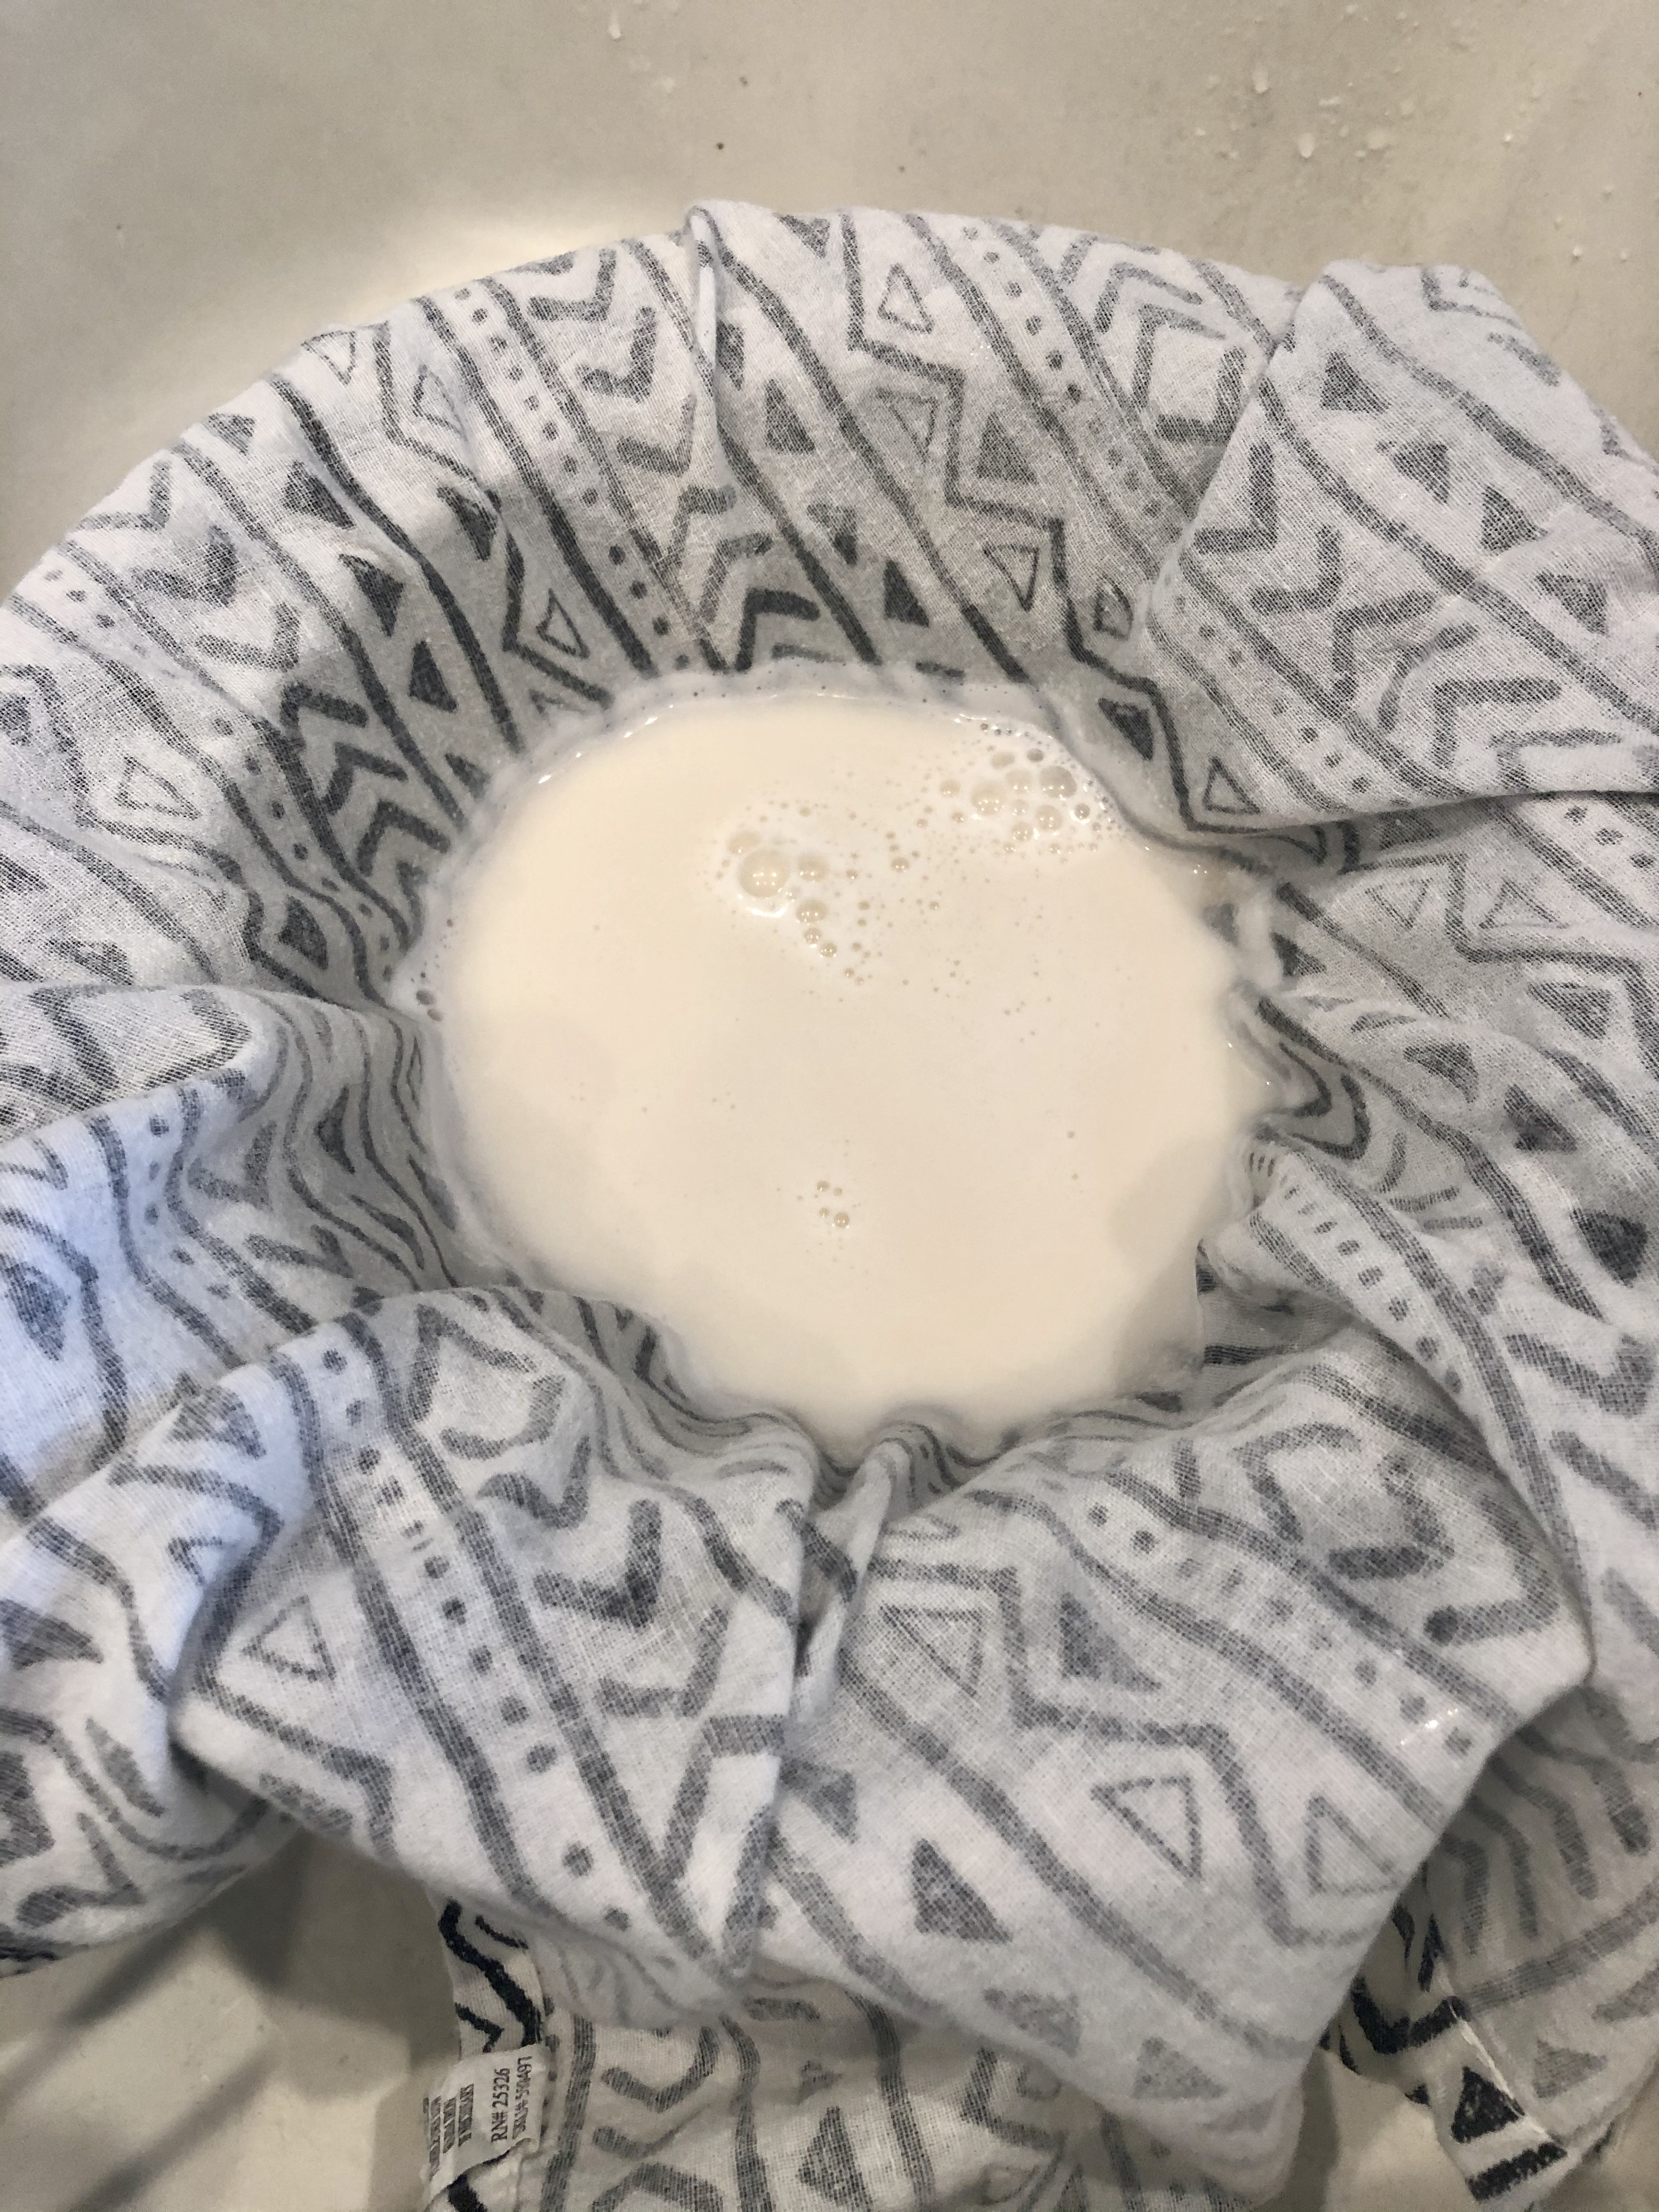
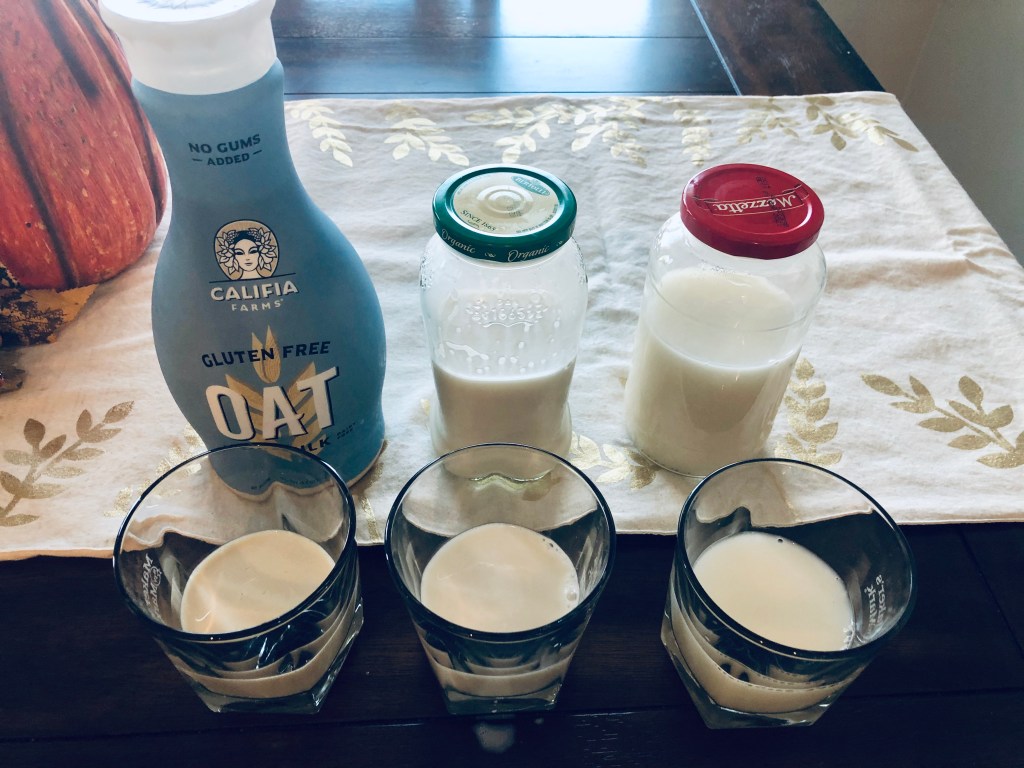
I used this recipe to make almond milk and it was a big hit with my family. Compared to store bought, I prefer homemade almond milk. I don’t have to worry about any additives, it was easy to make, and I didn’t have any trouble straining the almonds through a cloth napkin. If you have a small mesh strainer you can also strain the mixture through that first like I did.
- Pros: Easy to make, great flavor
- Cons: Soaking the nuts overnight
Oat Milk
- 1 Cup Dry Oats
- 4 Cups Cold Filtered Water
- 1/2 tsp Vanilla Extract
- 1/2 tsp Maple Syrup or Honey
- Pinch of Salt
Add oats and water to a blender and pulse for 30 seconds. Lay a nut-milk bag or cheese cloth over a bowl and pour in the mixture to strain. You can then add vanilla extract, salt and maple syrup or honey and stir. Pour the liquid into an airtight container and store in the refrigerator for up to 3 days.

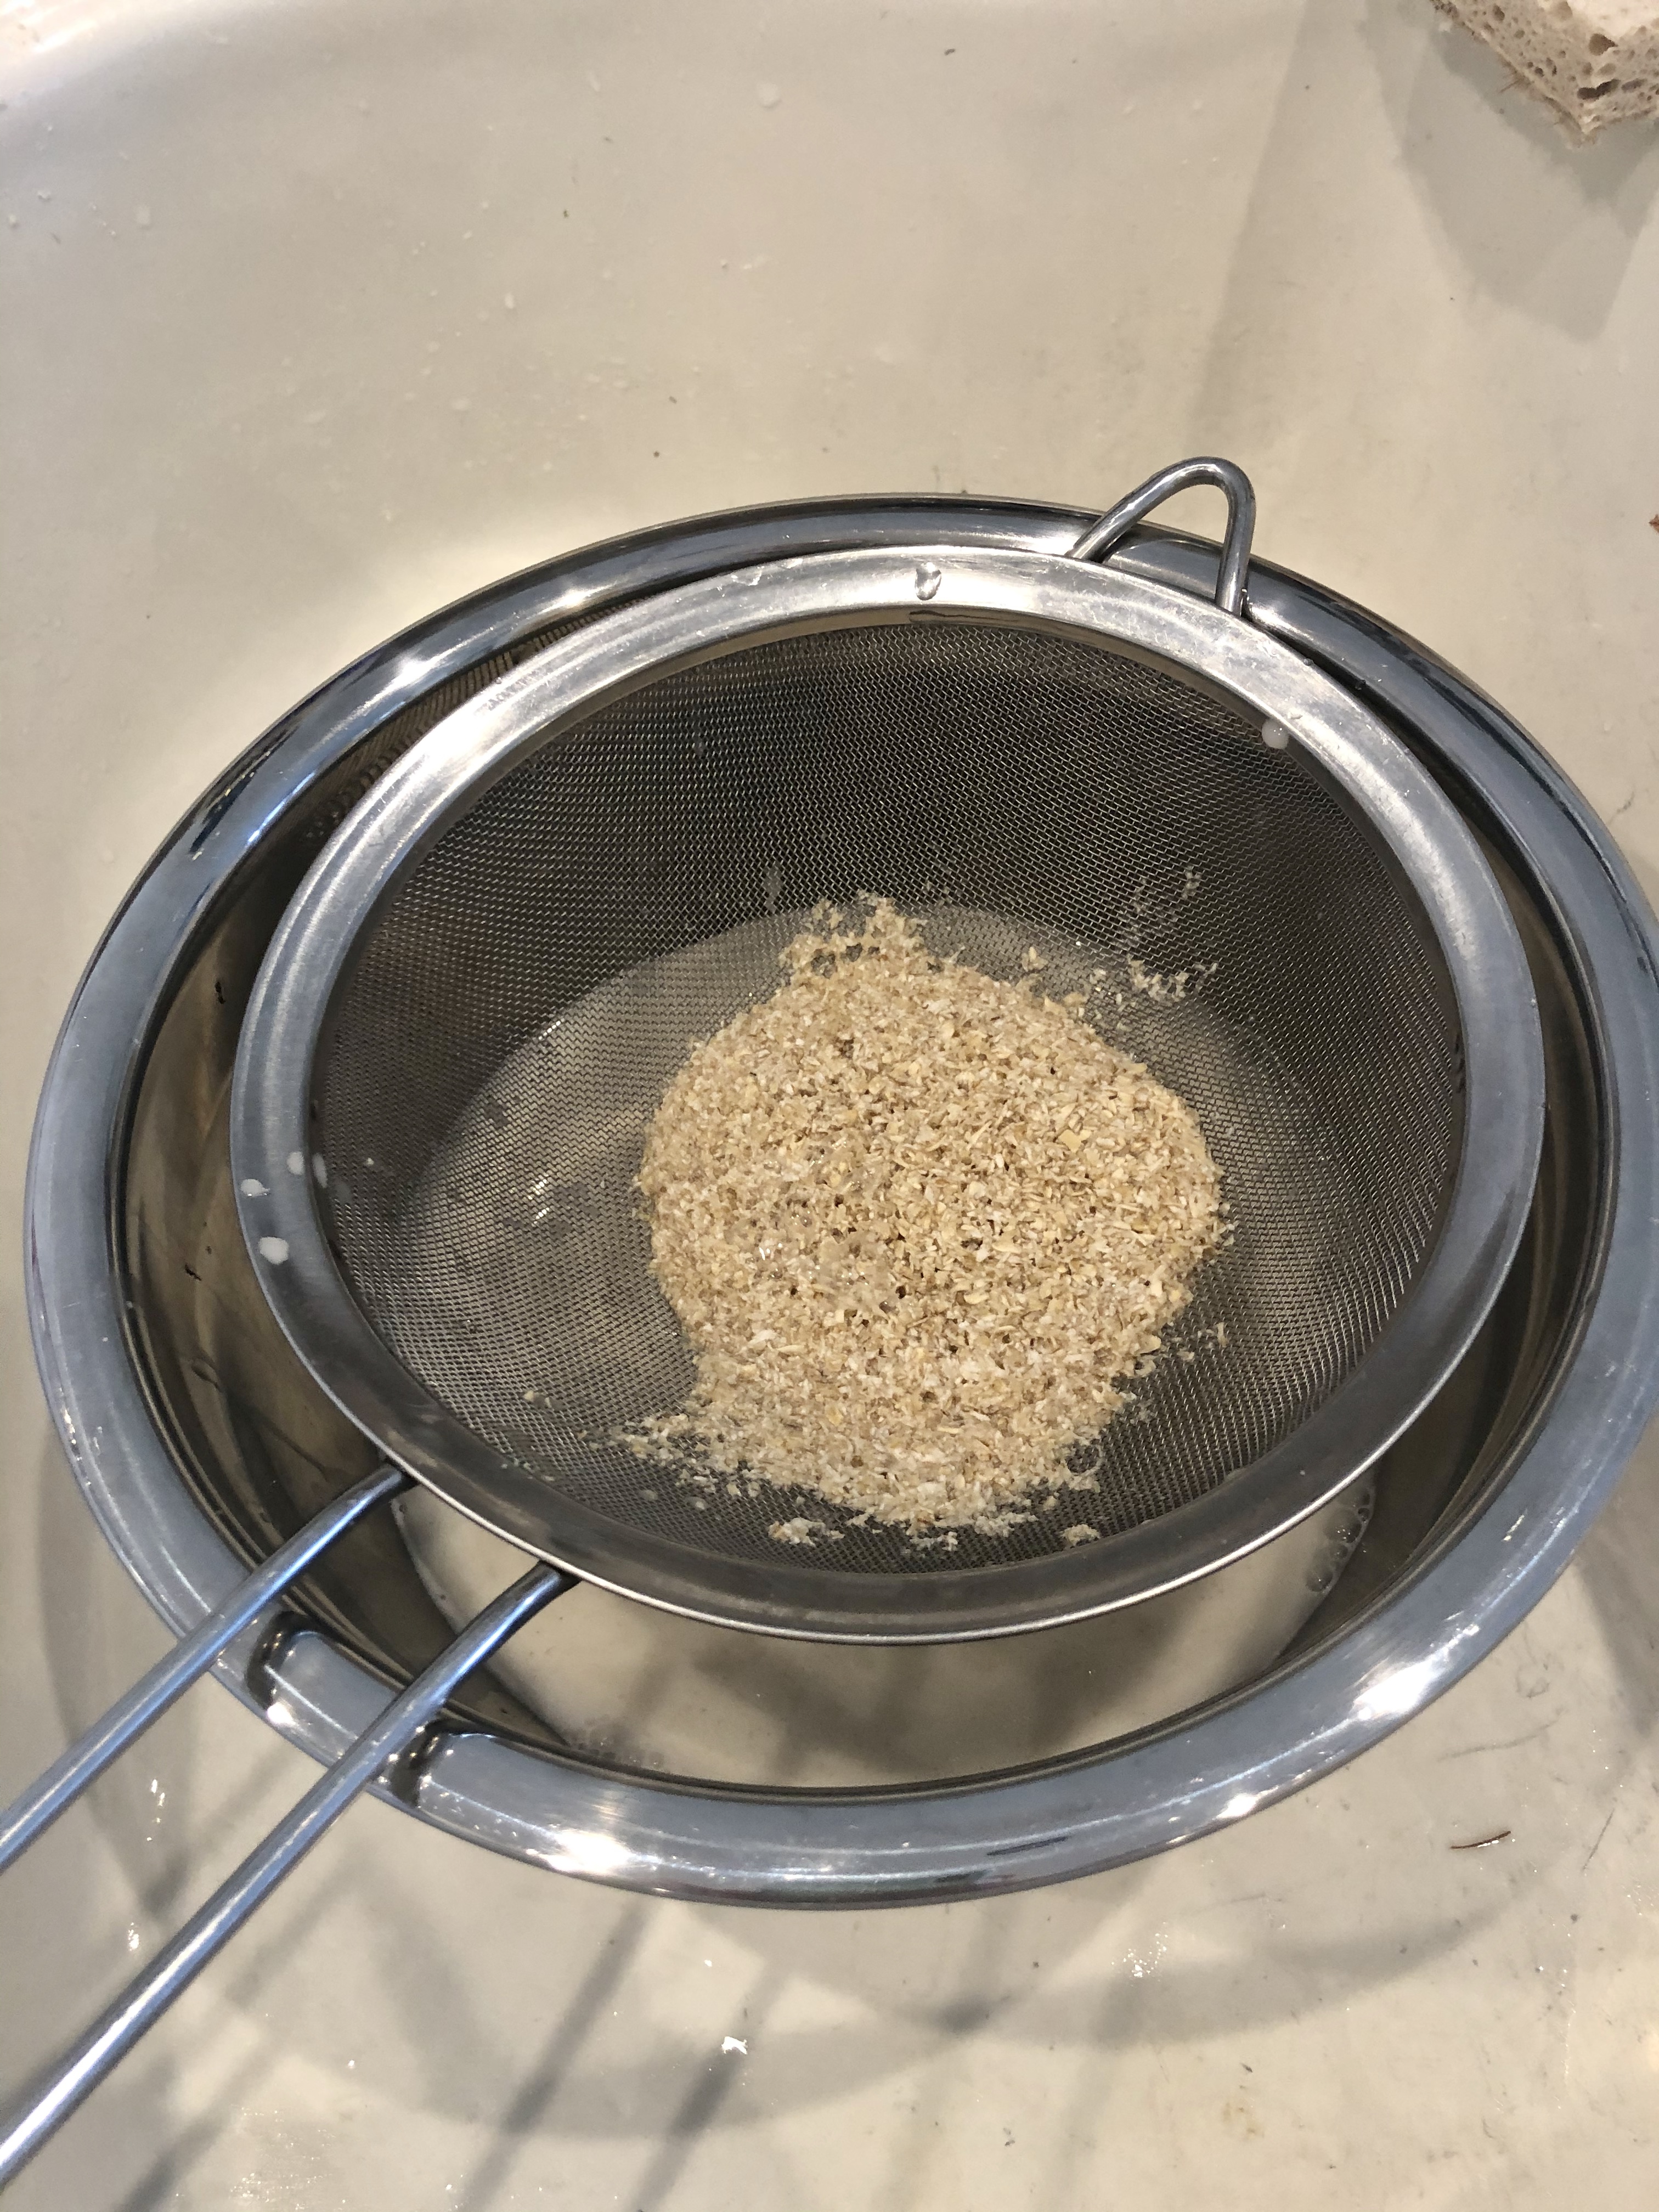

The first time I made oat milk I used a mesh strainer to remove a large portion of the blended oats and then a cloth napkin to strain the rest just as I had done with the almond milk, but it did not work as well for this recipe. The oat milk created a film on the cloth and I was unable to get all of the liquid to strain through. It also made the oat milk come out too watery so I suggest using a cheese cloth or a nut milk bag for straining. Although making oat milk is quick and easy, I still prefer the flavor and consistency of store bought.
- Pros: Quick and easy to make
- Cons: More watery than store bought; if you do not already have a cheese cloth or oat milk bag you will need to purchase one.
Hemp Milk
- ½ cup of hulled hemp seeds
- 2 cups of water
- 1 teaspoon of maple syrup or a date, optional
- 1 teaspoon of vanilla extract, optional
- 1 dash of salt
Put all ingredients into a blender and blend for one minute until smooth. You may want to wrap the blender with a towel to avoid spills while blending. Transfer to an airtight container and store in the refrigerator for 3-5 days. If you’re heating the milk later for a recipe or coffee, heat slowly and don’t completely boil as it can separate.

I love the added crunch of hulled (shelled) hemp seeds on many dishes, so I always have some in my pantry. When I found out making hemp milk required no straining and no soaking, I really wanted to try it out. You can strain the milk if you would like, but I didn’t notice any odd texture when I drank it in my coffee. The fresh milk does have a strong smell, but in my coffee, I actually liked the smell and consistency more than oat or almond milk (my usual go-to). Hemp seeds also have a decent amount of Omega-3, Omega-6, and iron. However, compared to oats and other nuts, hulled hemp seeds are more expensive.
- Pros: really easy to make, fast, omega fatty acids, a good source of iron, nice consistency
- Cons: expensive, strong smell
Rice Milk
- 1 cup cooked rice (cook according to package instructions, about ½ cup uncooked)
- 3 – 3 ½ cups of water
- 1 teaspoon of maple syrup or a date, optional
- 1 teaspoon of vanilla extract, optional
- 1 dash of salt
Blend for one minute until smooth. You may want to wrap the blender with a towel to avoid spills while blending. Transfer to an airtight container and store in the refrigerator for 3-5 days.

I make rice several times a week, so I like this recipe since I can turn leftover cooked rice into rice milk. There are recipes where you soak uncooked rice for about two hours and need to strain, but I like to avoid straining so I opted for the cooked rice method. This recipe makes a thicker version good for coffee and other dairy subs, but you can add more water to get a higher quantity. With rice being so affordable though, I would recommend the thicker version. Rice milk is fairly high in carbs with not much nutritional value, but I do like the taste more compared to oat milk and some nut milks.
- Pros: cheap, quick to make, mild flavor
- Cons: not much nutritional value
Not sure which milk alternative is best for you? Check out our other post, Cow’s Milk vs Dairy-Free Milk Alternatives, to get a break down on how each “milk” is different and what health benefits they have.
