Are you fairly new to making coffee at home? Or have you been using the same method for years but are interested in the other options out there? With the amount of equipment, options, and caffeine-fueled ‘experts’ out there telling us we need a science background to brew a cup of coffee, we decided to create a post to simplify matters. Keep reading for basic info on different brewing styles, including pros, cons, costs, and other equipment needed to brew a better cup of coffee at home.

Coffee Pot
The classic, the old school, and probably what you grew up seeing your parents use. They make a decent amount of coffee, most are affordable, and require coffee filters. Here’s the basics:
- Pros: Most can be cheap (like $20-$40), the most basic way to brew.
- Cons: If you live alone, if you are the only coffee drinker in your household, or if you and a roommate drink coffee at different times, the large amount of coffee these make might create some waste. You can obviously modify the amount of water and coffee grounds added to reduce the amount made, but that doesn’t seem to be an overly popular habit. Also, some clean up and they take up counterspace.
- Coffee Used: Ground coffee and coffee filters. Both of these are at virtually every grocery store. If you’re like my parents, you’ll be fine Foldgers canned coffee. But there are lots of ground coffee options now. You can also buy whole beans and grind them at many grocery stores. There will be a station with grinders and bags set up for you. Follow instructions on how to label the bags or ask for help. Or grind your own. I’ll go over some affordable and not-so-affordable home grinders later in this post.

Costs & Tools Needed:
- Affordable Options: ($20-$90) I say affordable, but a decent coffee maker will still cost you close to $40 new. Brands like Hamilton Beach can be found everywhere from Target to Wal-Mart to Amazon. There are several standard options, like this one, that are known to last a long time. Most have a 12-cup capacity.
- Built-In Grinder: ($80-$130) aka ‘Grind and Brew‘ if you like the idea of grinding beans but don’t want a separate piece of equipment. Read reviews on these though, as they tend to get clogged and need cleaning. Bethany has one and has issues sometimes.
- Filters and possibly a grinder: Filters cost pennies, but it’s one more thing to remember to buy. If you want fresh beans, you’ll also need a grinder, like a built-in one or a stand-alone.
Single Serve & Pods
A more expensive option ($40-$200), it seems to be the go-to for people who like a quick, single cup. The pods aren’t very cheap and they create plastic waste. Two brands reign supreme: Keurig and Nespresso, but you can find other, cheaper brands. We have both a Keurig and a Nespresso at home. Both are older gifts, but they’re honestly so fast we still use them often.
- Pros: Really fast, no learning curve, no clean-up, brews one cup so no liquid waste or cold coffee in a pot.
- Cons: Expensive, plastic waste, and flavor. If you have several coffee drinkers at home, pods get expensive quickly. Also pods contain ground coffee, so if you are someone who likes to drink their coffee black and have a good palate for coffee, you may think most Keurig pods lack flavor or taste watered-down. But if you don’t have a strong preference or add a decent amount of cream and sweetener, it’s not a big deal. A note on plastic waste: most K-cup pods are hard to clean and recycle, but there are more eco-friendly pods at many stores and online. Still some waste, but nothing like the traditional pods.
- Coffee Used: K-cup pods or Nespresso capsules. K-cup pods are at every major grocery store now, but Nespresso capsules are harder to find sometimes (we buy online). Some single-serve options have an insert to put normal, ground coffee in, so look for that option to save some money and plastic waste.
Costs & Tools Needed:
- Cheap Option: $30-$40 new; I had something similar to this in college. You pour in water each time you make a cup, so it’s small and takes up less counter space. It takes a little longer for the water to heat than the larger options, but I had no complaints.
- ‘Affordable’ Option: $80-$90; An Airbnb we stayed at recently had this style. Small and no water reservoir like the one right above, but sleeker looking. If our current Keurig dies, I’ll get this style because it takes up a third of the space.
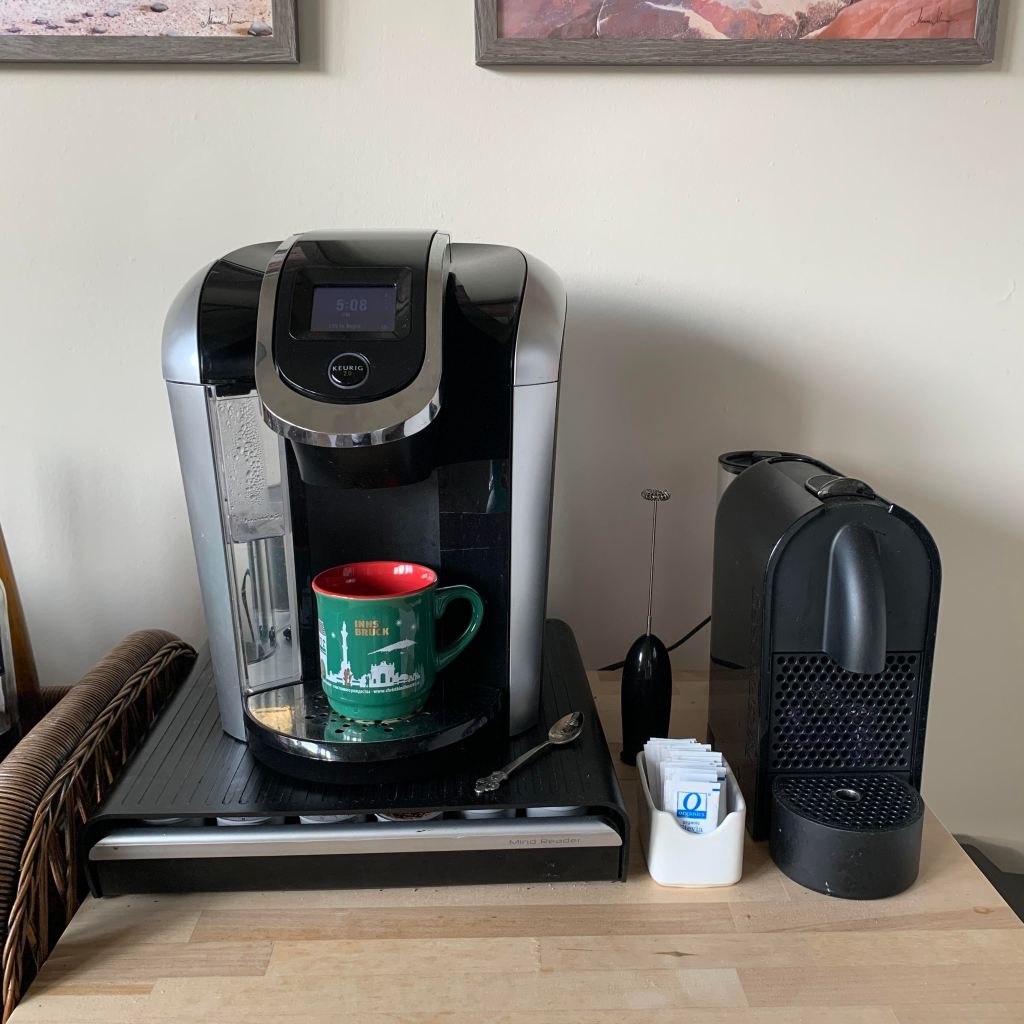
- Keurig: $120-$170 new; Big with a water reservoir so you don’t need to add water for each cup. Usually has a couple size options for plain coffee and allows you to just brew hot water. Lots of pod options for different flavors.
- 2-in-1 Coffee Pot + Pod: I found this option online that has both a pot of coffee and a pod option. Seems like a cool concept if you’re torn between the single cup and a pot.
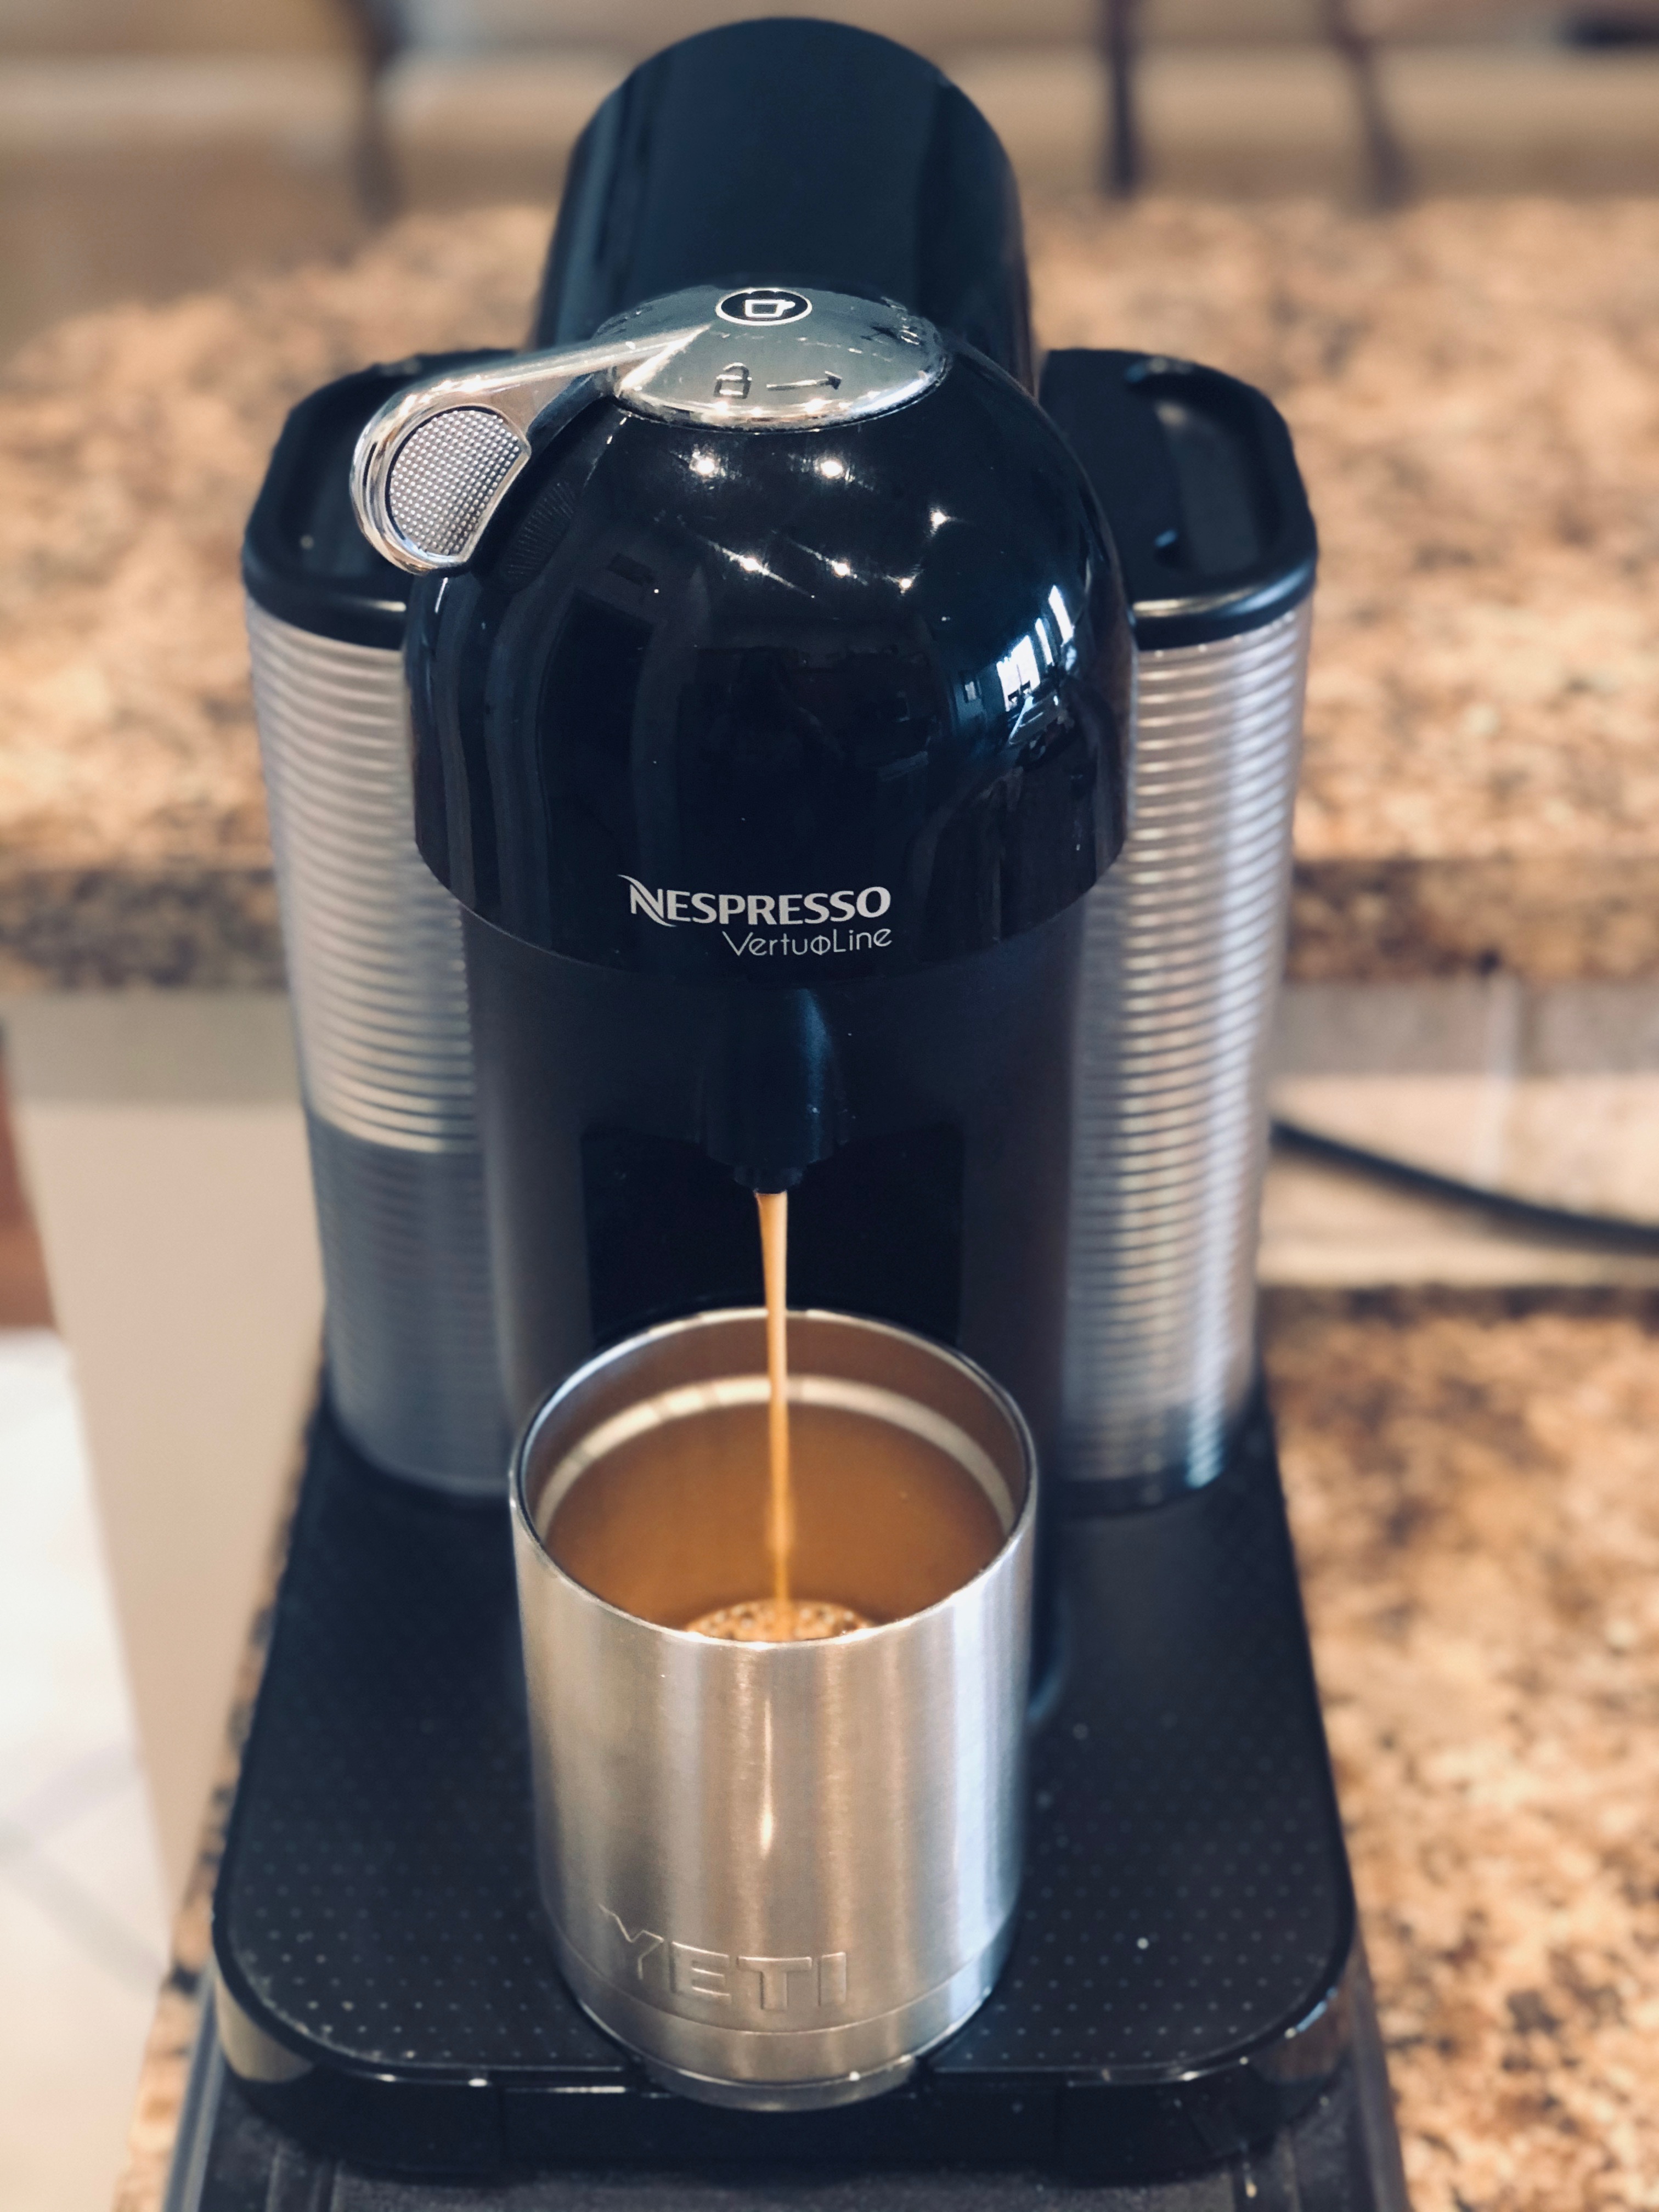
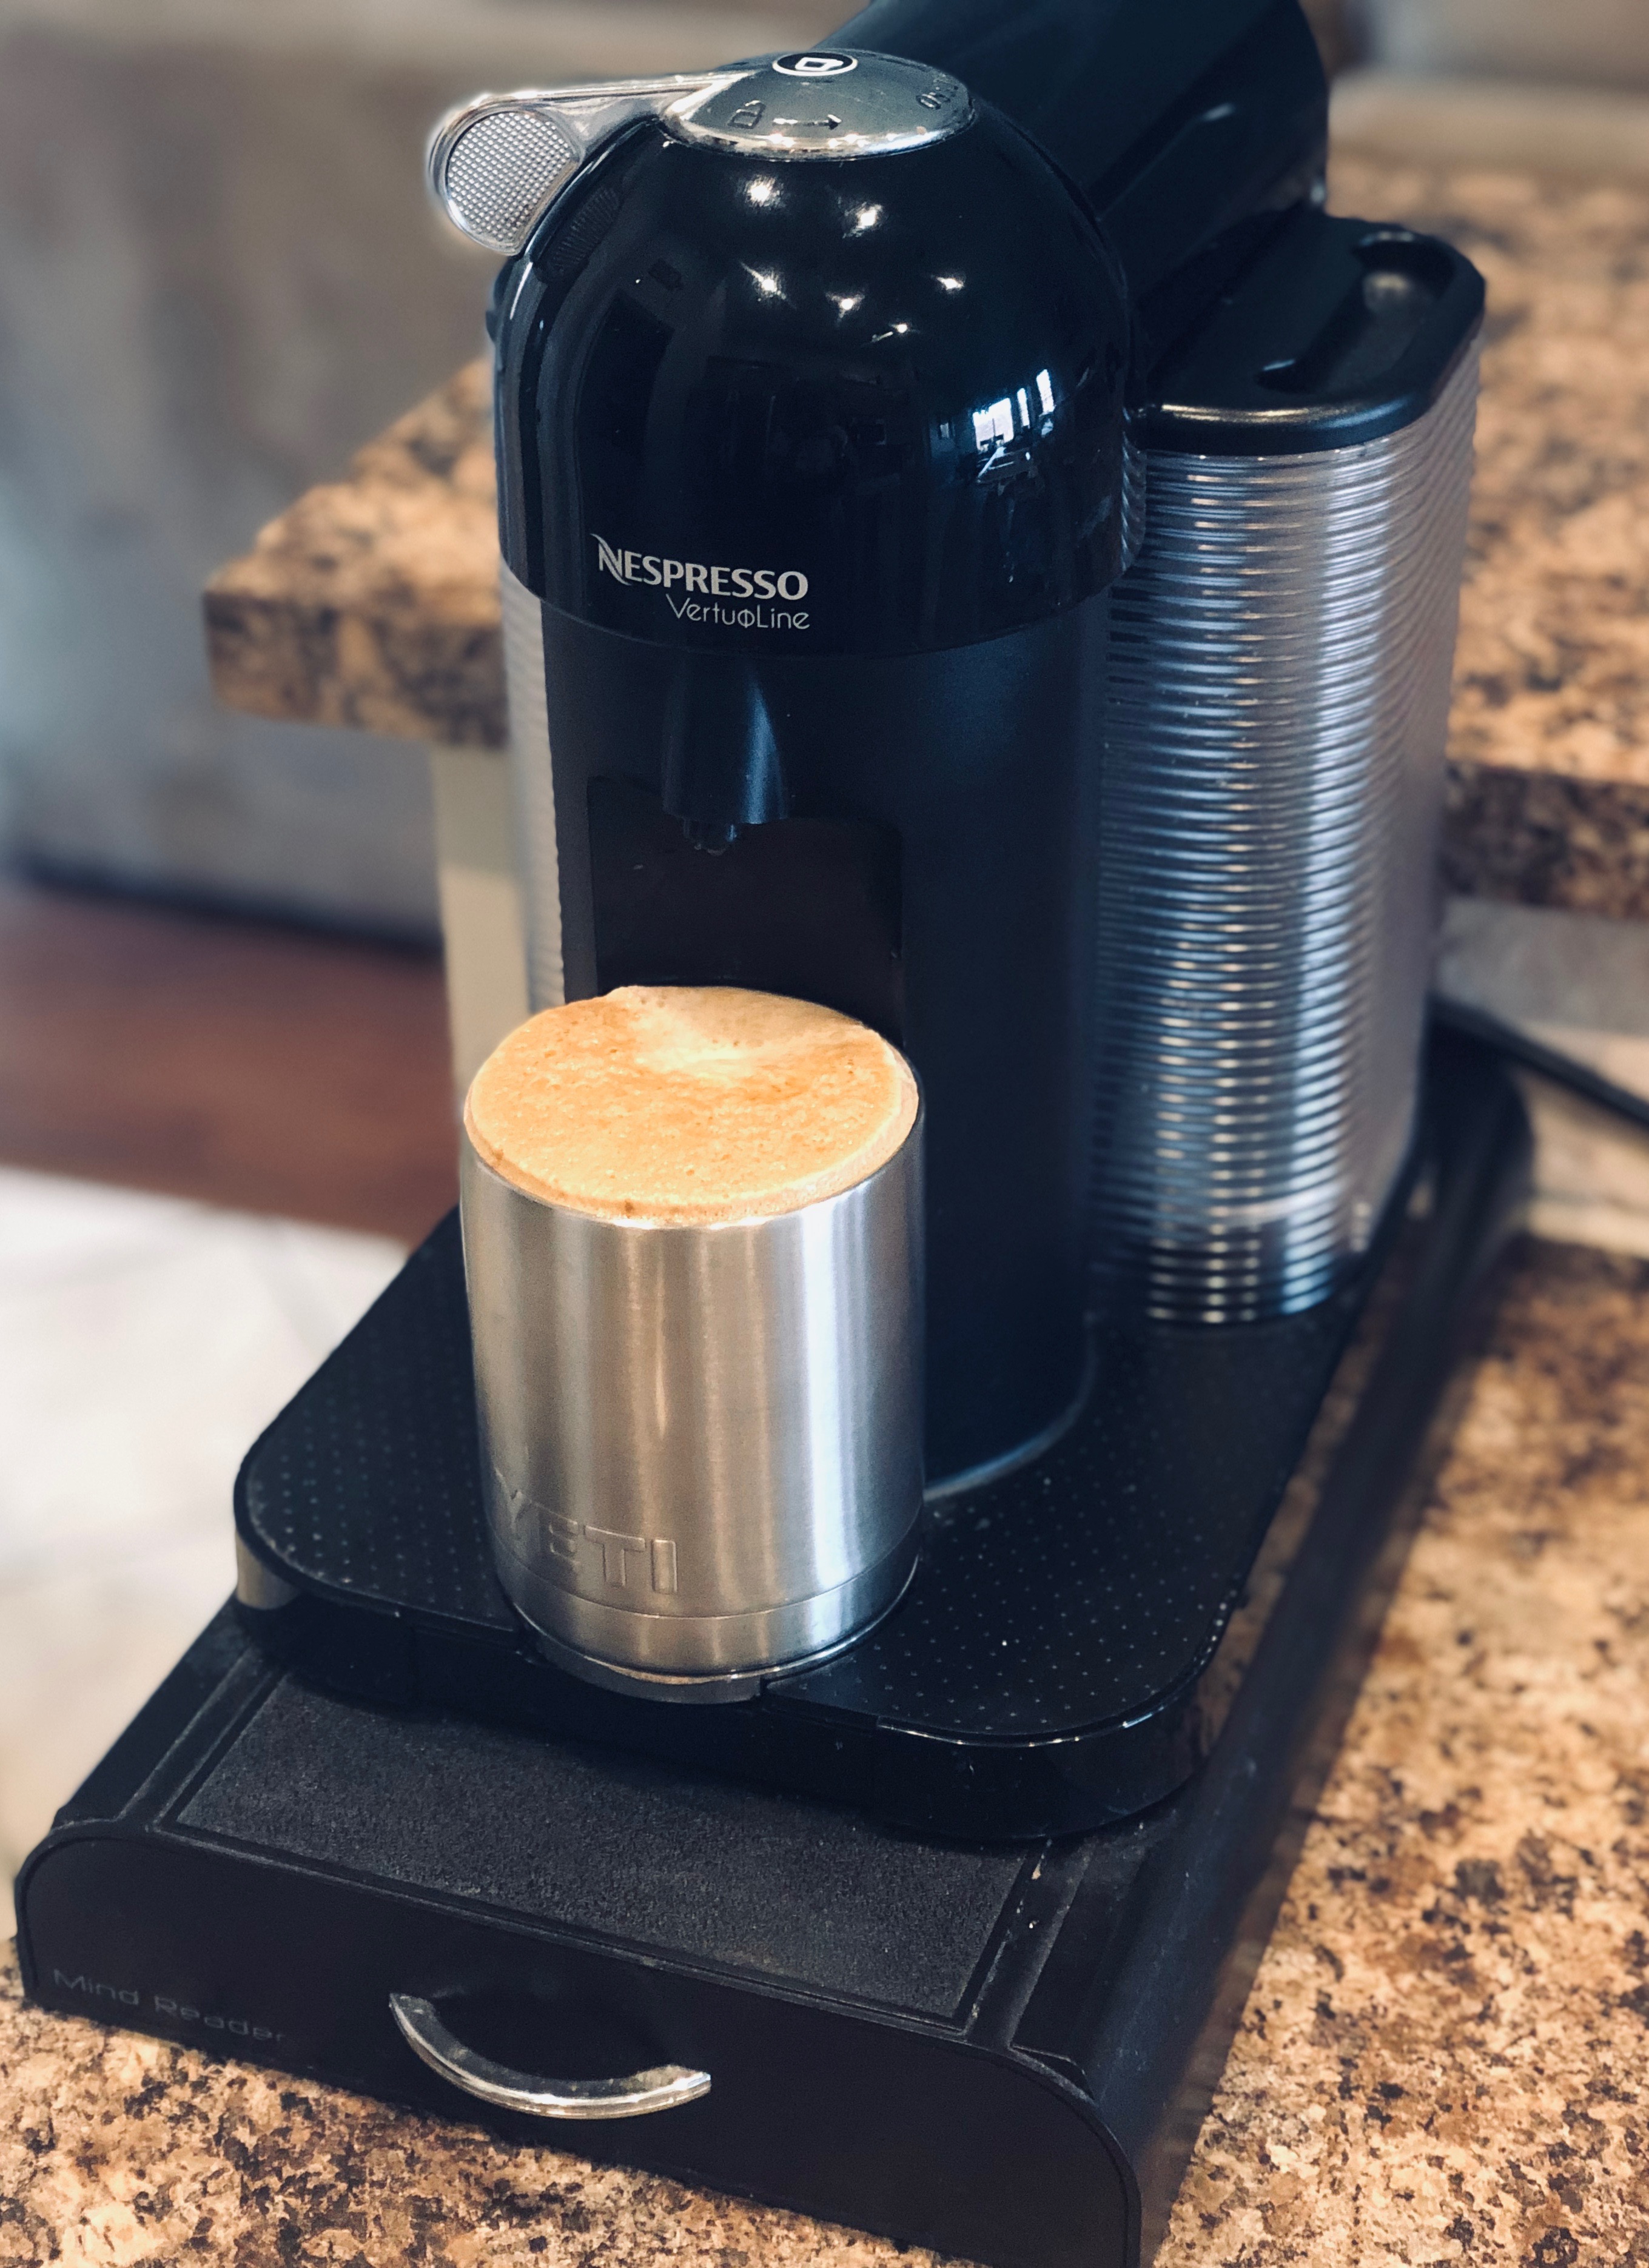
- Nespresso: $160-$200 new; The pods are smaller and allow you to make espressos. So if you like lattes and cappuccinos, a Nespresso makes a smaller, more concentrated coffee to mix with milk to create these drinks. Don’t be shocked when one ounce of espresso comes out of this machine. The newer versions have an option for regular-sized coffees, but my older one does not. (Older version pictured with my Keurig; Bethany’s newer version above that) In our opinion, Nespresso capsules taste way better than any Keurig pod we’ve tried. You can recycle these pods. You request a recycling bag from the company online and they send a pre-labeled bag that can be dropped off at any UPS store when full.
- Pods: Most pods come in packs and will run you $0.50-$1.00 per pod. Our favorite K-cup pods are these by Cameron’s, a compostable k-cup option with decent flavor.
French Press
Although French presses are more hands-on than a coffee pot or pod setup, they fix some of the cons we’ve discussed. One, it’s really easy to modify how much coffee you’re making and two, there’s hardly any waste involved, including no need for coffee filters. It does take longer to brew, around four to seven minutes.
- Pros: Easy to store, affordable, fairly easy to clean, electricity not needed (good for camping or traveling).
- Cons: Takes awhile to brew coffee. Although the cleaning process is easy, it’s one more step that a Single Serve Pod doesn’t have. Flavor: If you have a palate for coffee and you drink slowly, by keeping some coffee in the press, the second pour might taste more bitter due to over-extraction. I keep mine in the press and don’t notice a big difference.
- Coffee Used: Coarser grinds work better for French presses since the grounds are in the hot water longer. Otherwise, over-extraction can occur and make the coffee taste too bitter.
Costs & Tools Needed:
- You will need something to boil the water. A simple pot does the trick just fine, no need to buy anything else. If you want the coffee making process to look more visually appealing, opt for a teapot. See below for options.
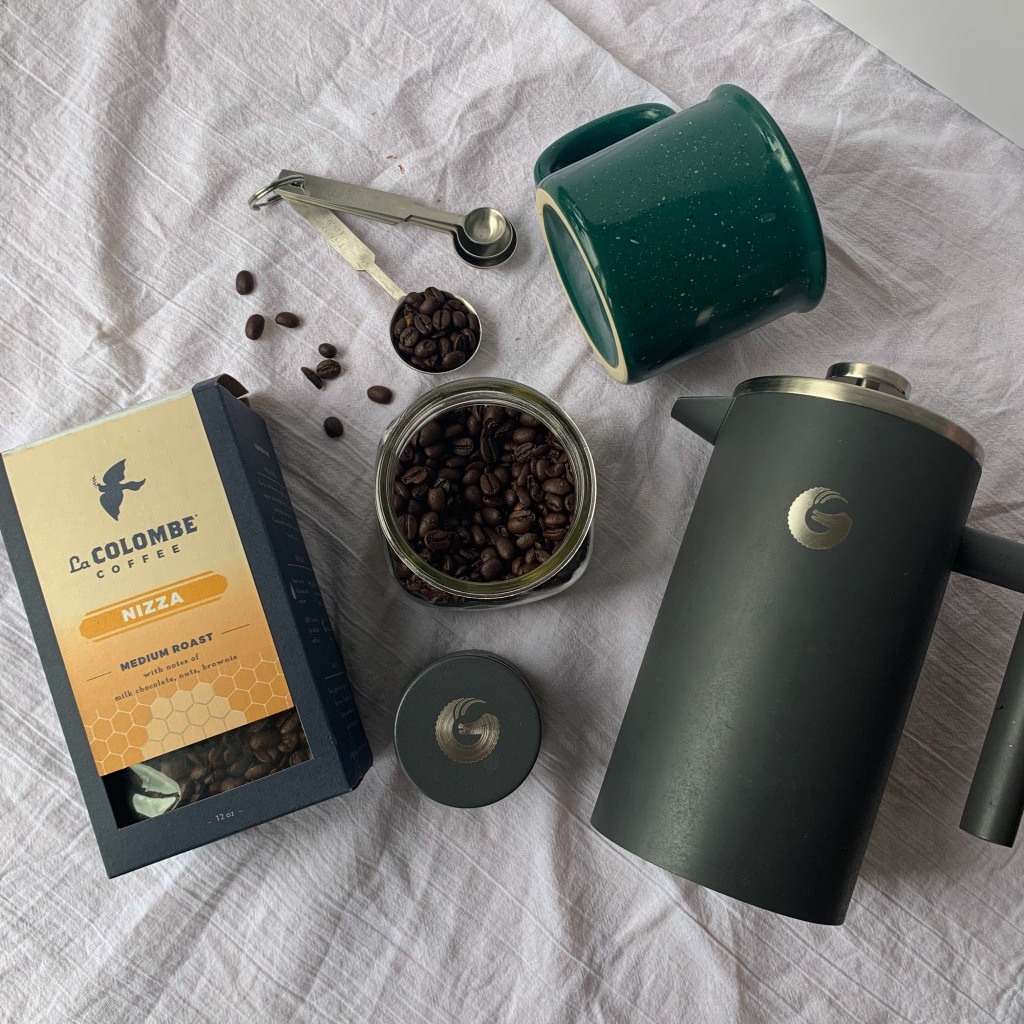
- The Actual Press: $20-$30 new. Traditionally you will see these in glass, but I have a metal, insulated one. If you’re worried about breaking glass or plan to travel with your press, a metal design will be perfect for you. We like the metal because it holds the heat so much better than glass, a common complaint for glass French presses. But the glass does look very nice, so if you aren’t worried about a little heat loss and aren’t traveling with it, a glass press allows you to see what’s happening and is a nice visual to add to your morning routine.
Pour Over
The pour over method is quite popular now and many serious home coffee-makers will tell you this is the best option. While it doesn’t have to be complicated and you can eyeball the steps like you would other options, a fair amount of the appeal of using a pour over is the in-depth steps to make a perfect cup. To see what I’m talking about, check out this video. The pour over method seems to have taken over the popularity of the Chemex, but they are still fairly common too.
- Pros: Can be the cheapest option (without the additional equipment), perfect for 1-2 people, but can easily make more (depending on size of reservoir), very customizable, noted for good flavor.
- Cons: If you go the popular route of making this, it’s an involved, albeit not that long, process. But the ritual is very appealing to many people. Depending on setup, possibly a decent amount of cleanup and equipment to store.
- Coffee Used: If you’re choosing this method, you will probably pick fresh coffee beans you grind yourself. A medium grind is usually suggested for this method.

Costs & Tools Needed: All the above products can be found on Amazon.
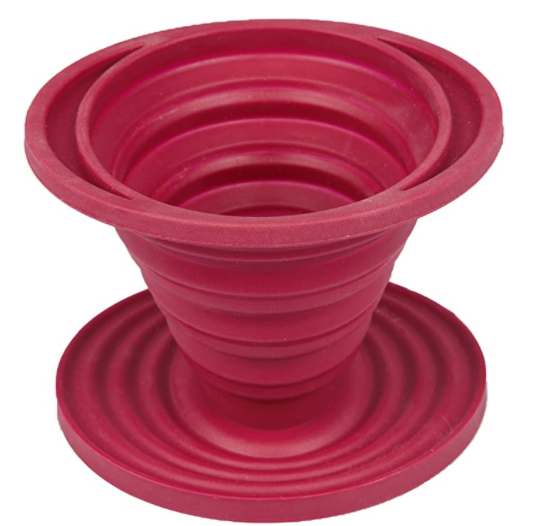
- Cheapest option: $10, I’ve seen several hikes use different silicon designs, like the red one above. If you don’t want to waste any space and want something super cheap that still works, this collapsible pour over system seems like a great option. (Would also be good for a small office with subpar coffee options.)
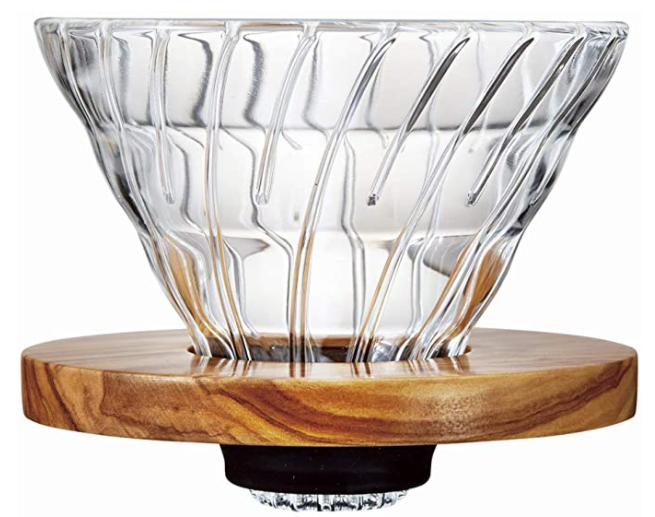
- Traditional: $15-$30; you decide if you want to pot at the bottom or if you have a mug or something else you want the coffee to drip into. The Hario V60 is one of the most popular models, pictured above in wood.
- Teapot: Depending on who you ask, a special pour over teapot maybe recommended, but not necessary. They look cool and help direct the water into the dripper more effectively.
- Thermometer: Yes, technically if you want to go all out, you need to make sure your water is the right temp. Luckily thermometers are cheap and I really suggest having one for cooking anyway.
- Small scale: Again, not necessary unless you want to go all out. You should be able to find a small scale that works for lots of kitchen tasks for under $15. And a scale is something that’s good to have if you want to get into baking or fermenting at home.
- Coffee filters: cheap, but one more thing to buy. There are special filters designed for the pour over method.
Stovetop Espresso Maker aka Moka Pot
I personally haven’t used a moka pot, but my co-writer Alexys has and is a fan. After doing my research, I’m really liking this method. I honestly had no idea you could make espressos at home and not spend a couple hundred dollars on equipment. Learn more about coffee vs espresso in our post here.
- Pros: If you like espresso-based drinks, but don’t like always paying for them at cafes, this is a great option. Affordable, easy to store equipment, good quality coffee.
- Cons: Learning curve; you can easily over-extract and make a bitter coffee. Some clean-up.
- Coffee Used: Beans need to be grounded finely for an espresso brew. You can buy or grind your own.

Costs & Tools Needed:
- Moka pot: $20-$40. There’s not much variation in styles, which makes them affordable. Moka pots usually look fairly industrial, which I actually really like. Here’s the most standard option, pictured above, and what Alexys uses.
- Coffee grinder: You may be able to grind at a store or buy finely ground, but you’ll want a finer grind for espresso than you would need for the other options listed. See below for grinder options.
Unnecessary Equipment for Newbies, but Stuff to Consider

- Milk frothers: ($10-$130). Yes that’s quite the price range. There are three different styles. The handheld frothers that will run you between $10-$15; the electric frothers that also warm the milk ($30-$60); and the fancier ones with different foam settings ($70-$130).
- Coffee Grinder: I realized there’s a decent amount to talk about here. So scroll a bit to the next section to see what coffee grinder best matches your Zodiac sign. Just kidding, but after some research, I found some interesting facts that will help you decide what you “need”.
- Cute Things to Hold your Sugar and Coffee: Canisters, sugar bowls, etc. You can find lots of cheap (under $10) items if you’re interested in creating a coffee station in your home.
- Teapot: Tons of different options out there. From basic teapots for your stove to electric that heat quickly to the pour over kettle with the cute, narrow spouts to ‘bloom’ the coffee. The narrow spout directs the water better than traditional. A pot on a stove does the trick just fine, but if you’re interested in some of the methods outside the coffee pot and pods, a teapot is a nice addition.
What We Have: Bethany has an electric frother that heats the milk, but usually only uses it on the weekend. I switched from an electric frother to a handheld recently. I love frothy milk, but I didn’t like cleaning the electric frother so I didn’t use it that often. Now, I just zap my milk in the microwave (30 seconds, swirl, 30 seconds) in a mug then froth the milk with my handheld frother. It depends on if you have a dishwasher, how big your kitchen is, if you mind cleaning something electric to know what’s the right pick for you.
I currently have this teapot from Ikea that’s $15. It’s big and works well. Then there are pour over kettles. I bought this cheaper one and it melted and spewed water everywhere. Spend a bit more money on a nicer one. I also once owned an electric teapot. I got rid of it because of counterspace, but I used it almost every day. It’s super fast and convenient. Many new ones have temperature control.
Coffee Grinder: Disclaimer, I use a cheap, old, loud coffee grinder from Target and will use it until it breaks. It doesn’t have the most consistent grind size and that may be important to you depending on what you’re brewing (learn more here). After doing this research, I will probably choose a manual coffee grinder with burrs if my current grinder breaks. If you aren’t a coffee snob yet, go with something affordable and small.
- Cheap, small, electric: ($20-$30) There is a bit of unevenness to some of the grounded beans, so if you’re looking to achieve more consistent sizes, there are some work-arounds. You also have to eyeball the grind size, where the more expensive grinders have settings to do the work for you. My only complaint, these are loud AF. Like wake-the-whole-house-up loud. If that isn’t an issue for you, then I think this is a perfectly acceptable starter. Alexys has a Bodum and uses it to make espresso grind just fine and it’s $17.
- More expensive, keep on counter, electric: ($40-$170). If you’re getting serious about coffee grinding and start to really care about the grind size or make larger batches of coffee, a large, pricier option might be better for you. I recommend a burr grinder with built-in grind size settings, something like this one.
- (Usually) cheap, small, manual: ($15-$30) Ah, the hipster of coffee grinders. But honestly, I’m into these. If you like camping, I suggest something like this French press (holds in heat and isn’t glass) and a manual coffee grinder (or like.. grind the coffee beans before you leave your house. You smell like leaves and campfire; do freshly ground beans matter that much? Maybe.)
If We Redid Our Coffee-Making Setups
After this research, if we were buying all new coffee equipment, here’s what we would get rid of and what we would buy. If you’re still stuck, think about how your normal mornings go. Are they calm or fast-paced? The three of us at Tulhoma all agree that there’s a ritual for workday coffee and days-off coffee. If you don’t want to drop the money on both, pick your most normal day and choose your equipment from there.
First, how we like our coffees:
- Taryn: With some foamy, piping hot milk, and a couple teaspoons of sugar on the weekends.
- Bethany: Mostly black now.
- Alexys: When I drank more coffee, I made iced mochas with whole milk using my stove-top espresso maker.
Get rid of:
Bethany would get rid of her coffee pot that has a built-in coffee grinder, because it gets clogged and needs to be cleaned often. Taryn would get rid of her larger Keurig and Nespresso, because of the space they take up and the plastic waste (Taryn doesn’t recycle as well as Bethany). Alexys has already streamlined her setup and doesn’t drink coffee every day anymore.
Keep:
If Alexys could only have two pieces of coffee equipment, she would be happy with her stove-top espresso maker and a coffee bean grinder. The espresso maker brews a strong cup of coffee that can be enjoyed black or used in various flavored/blended drinks. Alexys has also used her grinder to turn sugar into powdered sugar. Taryn would keep her handheld milk frother for its ease of use and how small it is. And she would keep her insulated French press, because it’s simple and holds up well. Bethany would keep her Nespresso for weekend use.
Buy:
Bethany would buy a separate coffee grinder and coffee pot. Taryn would buy a stove-top espresso maker and maybe the small Keurig for rushed mornings or a quick coffee for guests.
